
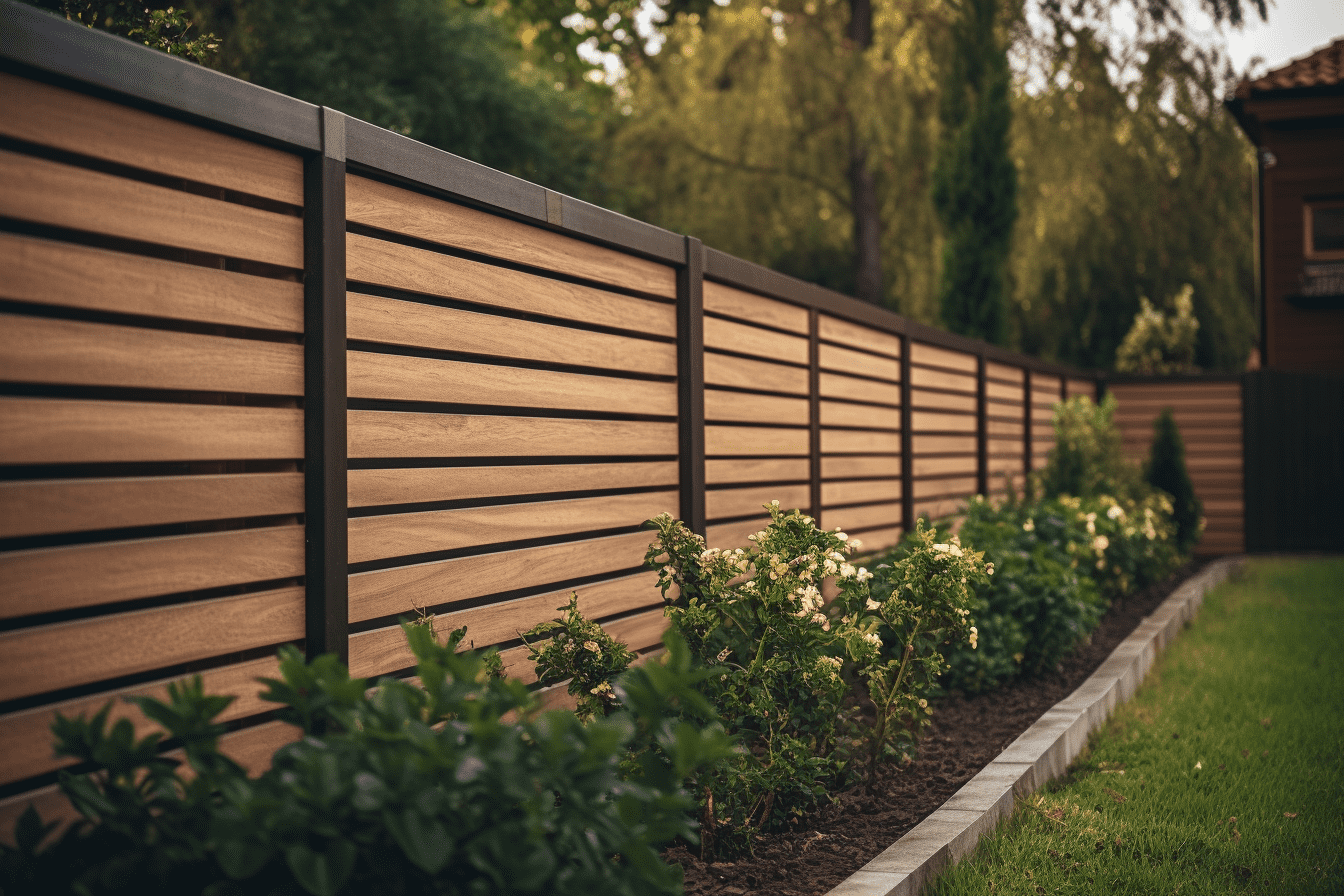


Wood is a great solution for homes and gardens. And despite it being a living material and despite its exposure to moisture, temperature changes (which invites wood-decaying pests) and UV rays (which cause decolouring), outdoor timber isn’t to be feared from a maintenance standpoint.
Taking sufficient preventative care of outdoor timber will reward you with a beautiful, long-life and maintenance-free structure. Wave goodbye to constant recoating: not only will timber stay looking brand-new, but it will also last you many years.
1. Don’t underestimate the prep-work
- Remove all bark residues, old coats of paint and debris, which can prevent subsequent coats from soaking into the wood.
- If the timber has mould, use Bochemit Anti-mould to remove it. Don’t use a cloth, brush or other instrument to remove mould, as that will only spread damaging spores.
- Then sand it lightly.
- New timber does not need to be planed - impregnating solutions actually soak better into unplaned wood than planed wood.
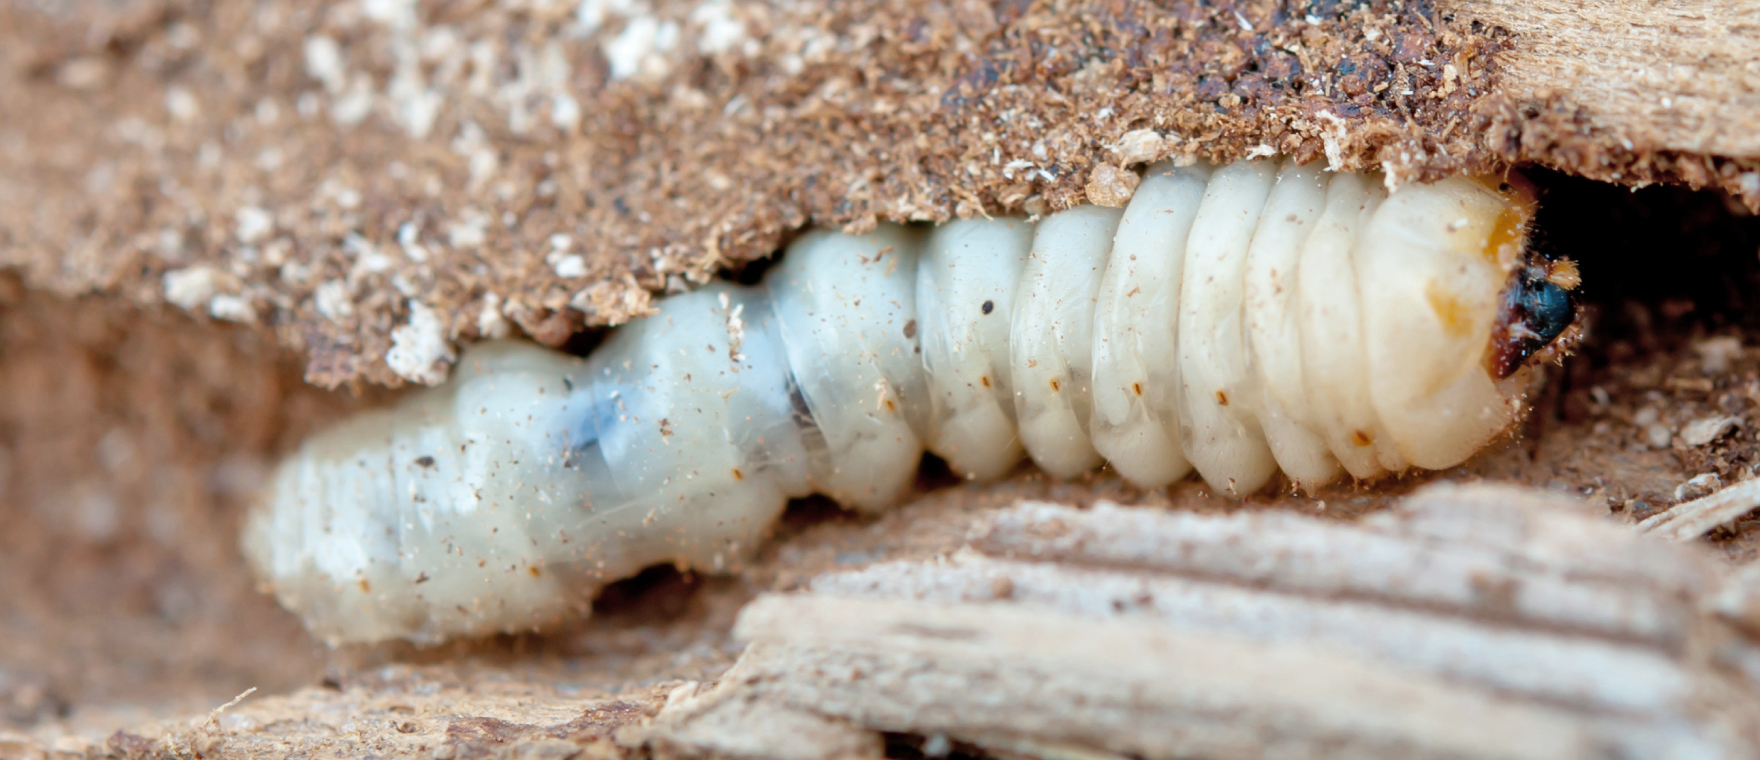
2. Impregnate timber against pests
Outdoor timber is far more susceptible to infestation by pests (wood-decaying fungus, mould and insects) because of its exposure to the elements (rain, snow, temperature changes) and because it is in direct contact with soil and water. Just varnishing or painting it won’t cut it, as the timber will shrink and expand, causing cracks to appear. And larger cracks are an invitation for pests to get in.
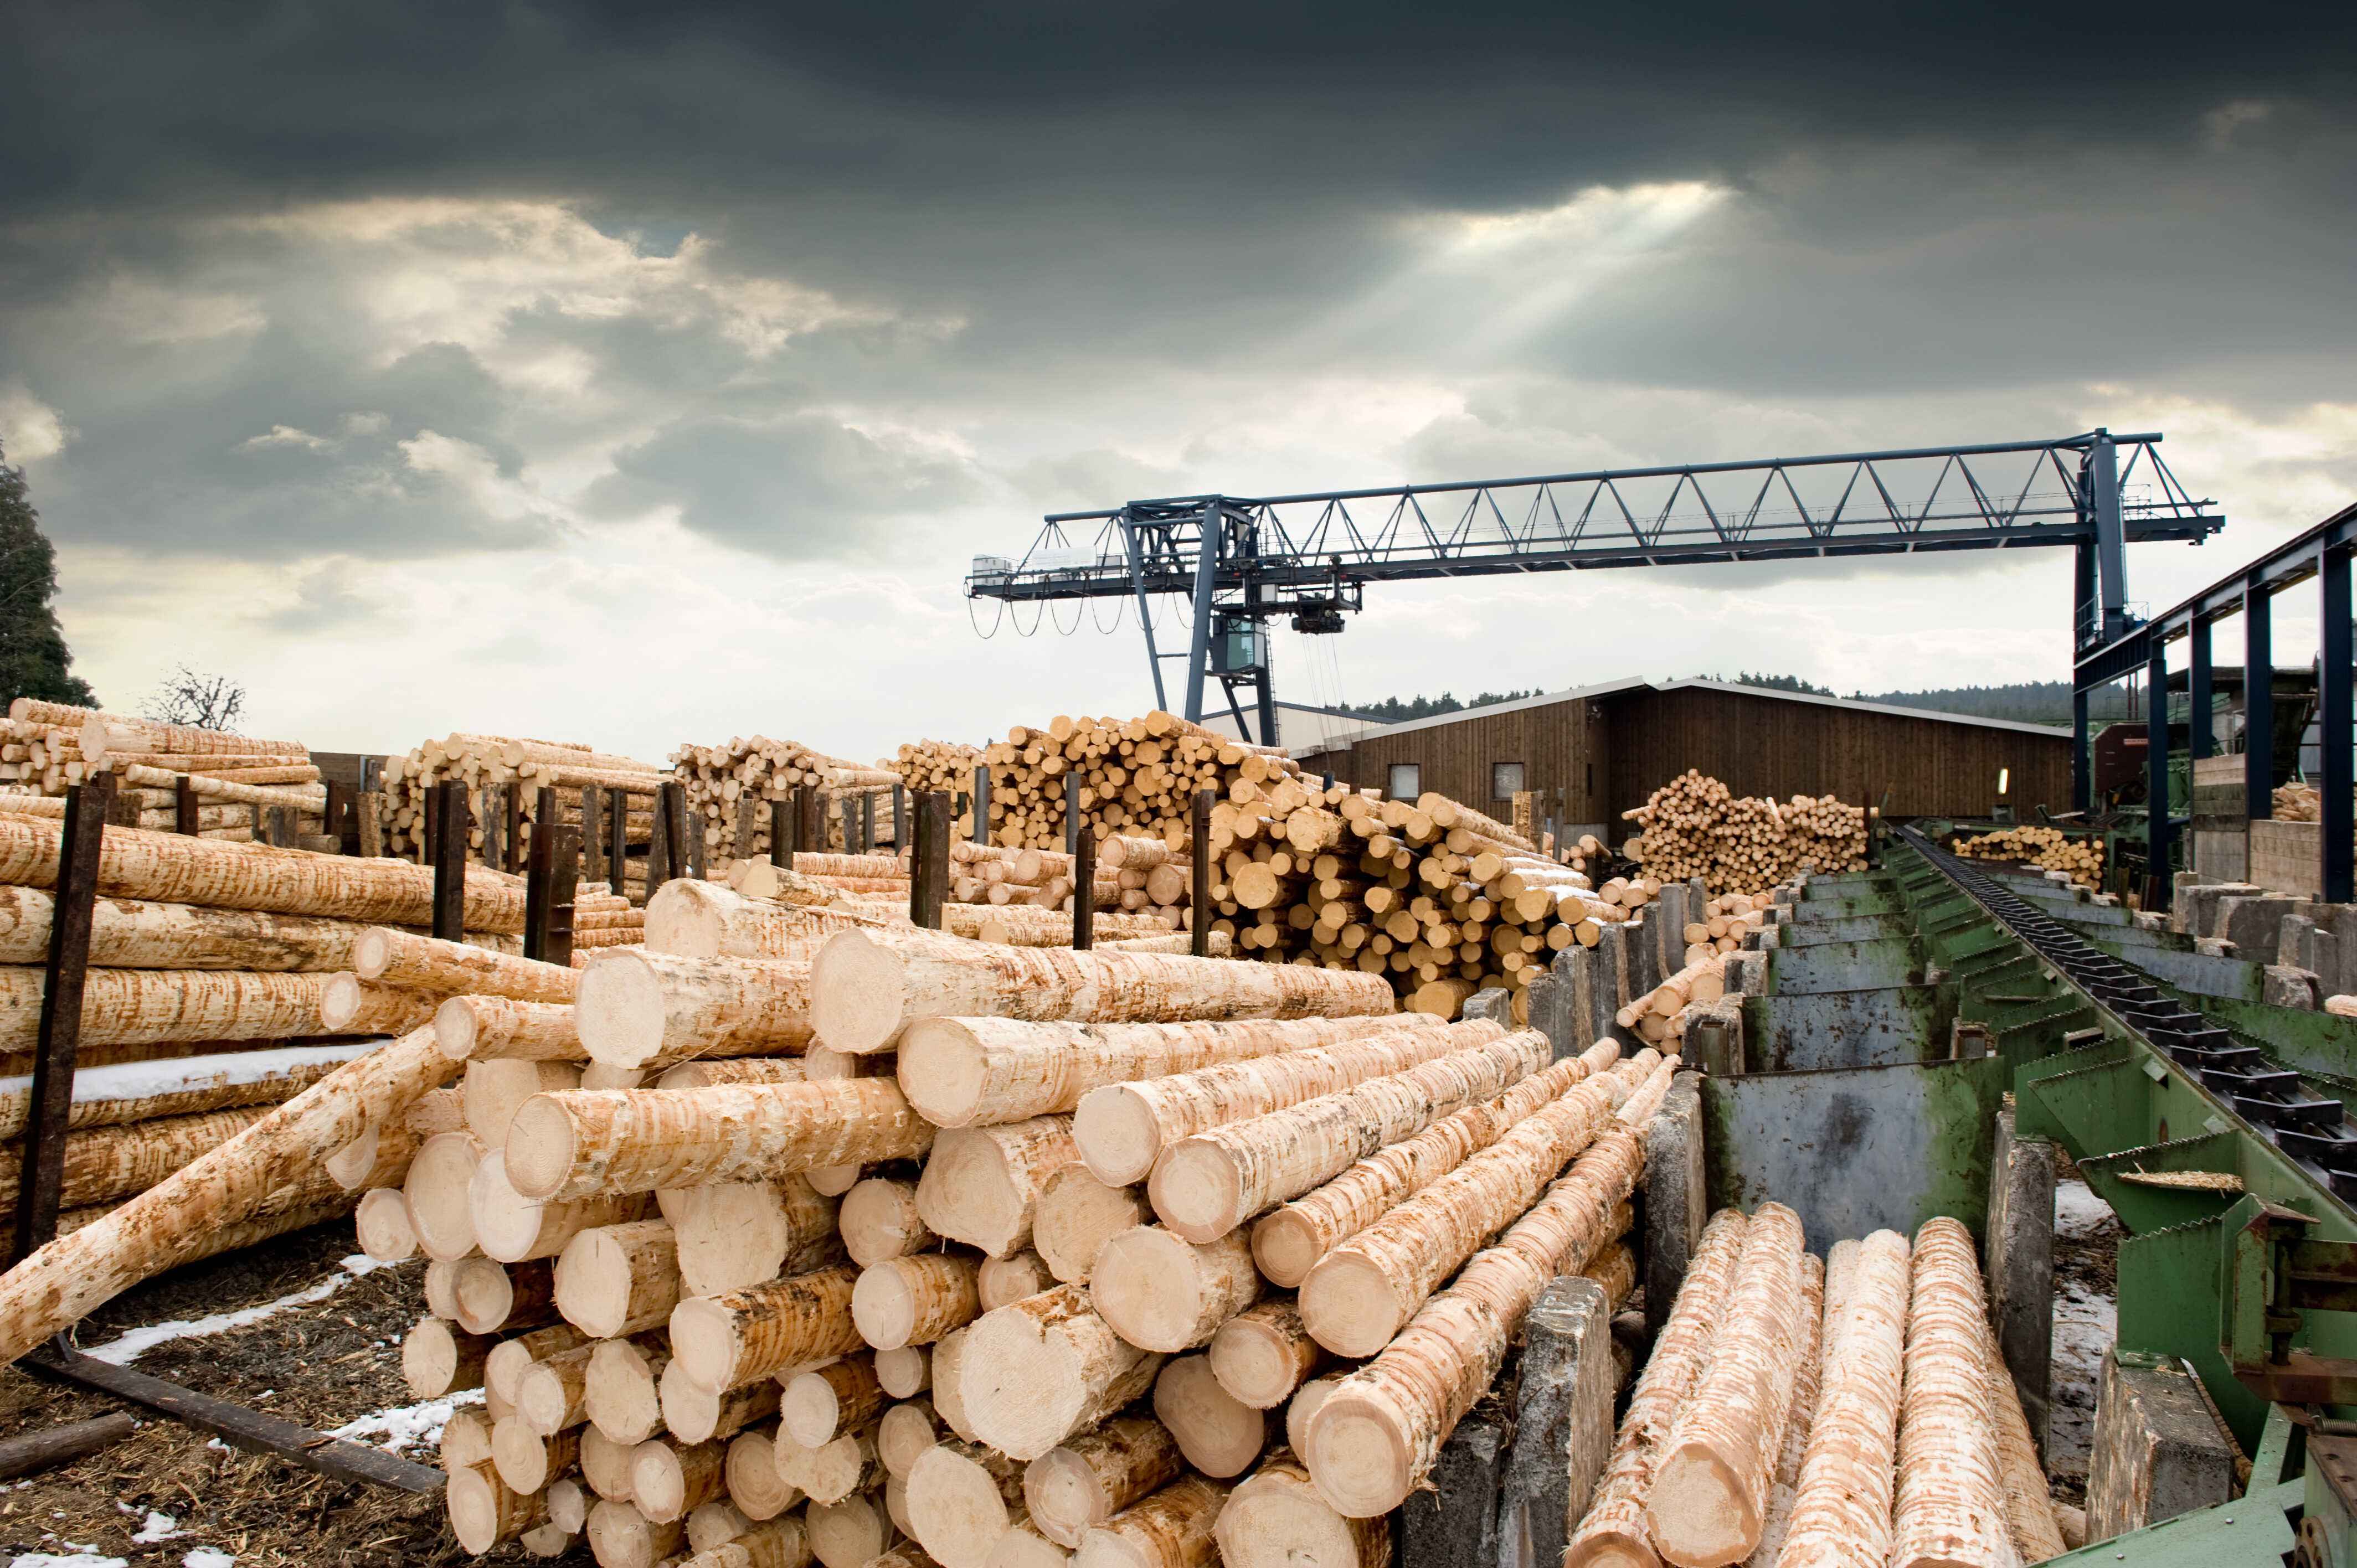
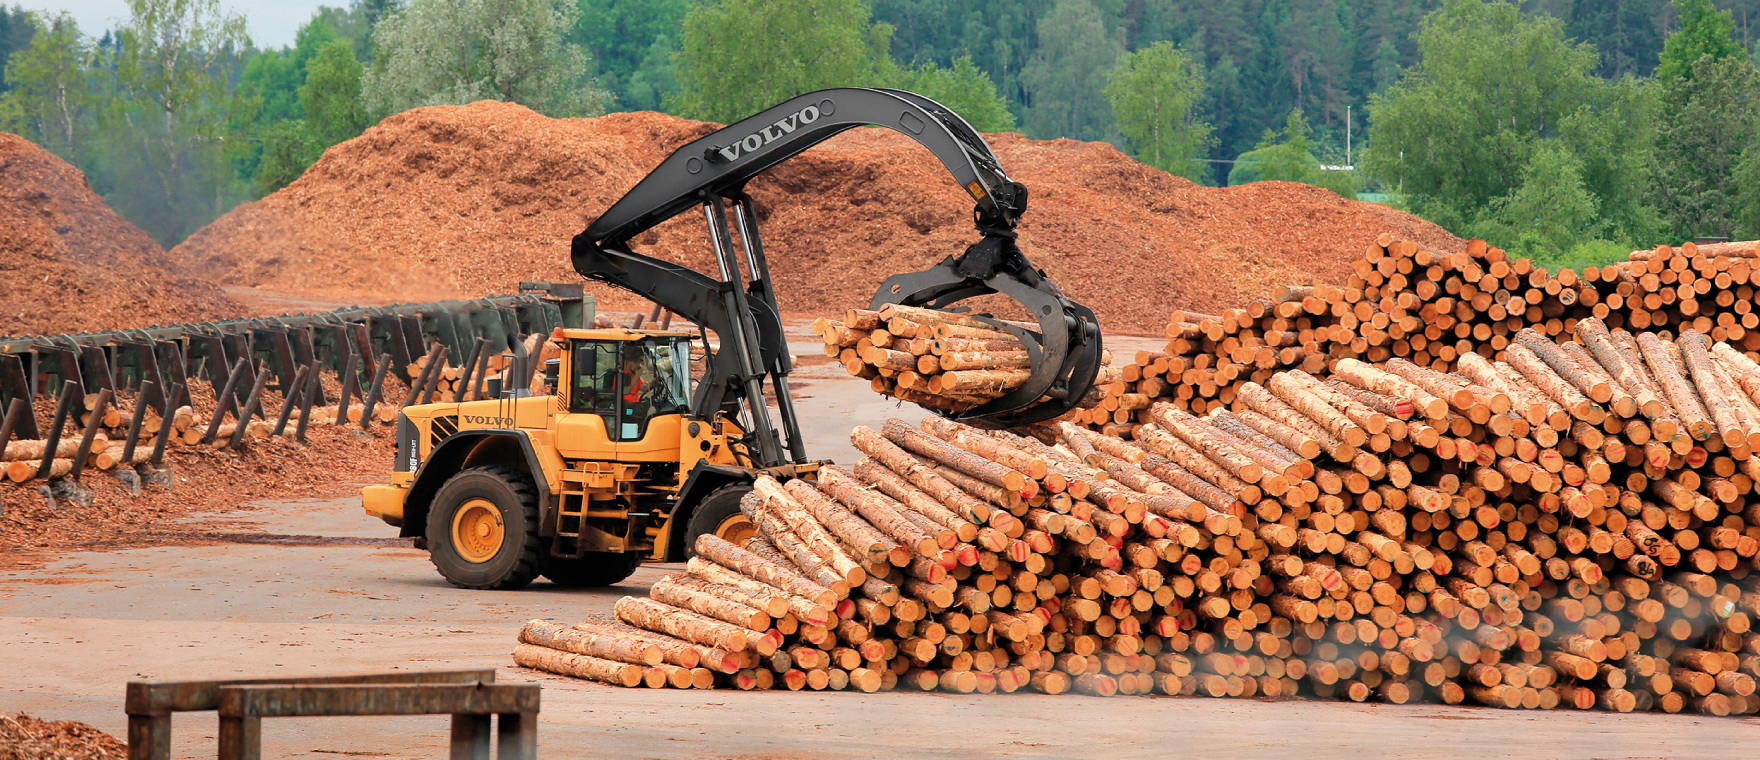
When building new fences, the simplest solution is to buy professionally pre-impregnated timber straight from the sawmill. We care about quality preservation, so when you visit the sawmill look for certification that the wood has been pre-impregnated with Bochemit-branded products.
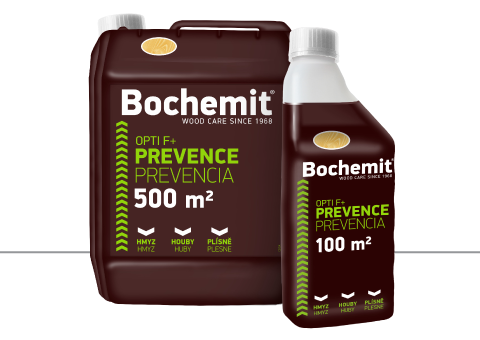
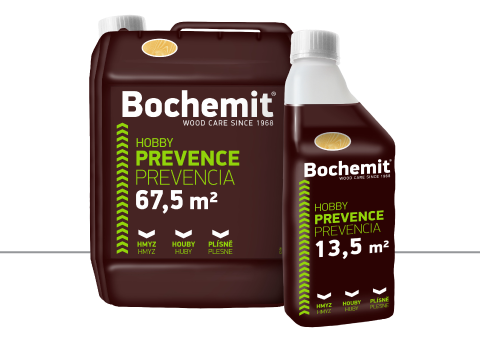
You can also apply the timber impregnation yourself. Just use Bochemit Opti F+, or Bochemit Hobby for smaller areas, by following the instructions on the tin. And it isn’t only new timber that needs impregnated, refurbished timber does too. Bear in mind that:
- The ideal temperature for treating timber is +5 °C to +30 °C. This will ensure the preservative is evenly and compactly distributed across the wood’s surface. Frozen timber won’t soak in the solution. If the sun is overhead, the solution will evaporate before it soaks into the wood.
- The mantra of “the less diluted, the better” does not always ring true. Water acts as a vehicle to transport the active ingredients into the wood. More concentrated solutions can dry out on the wood surface, before it soaks in. So make sure to follow the instructions.
- Impregnating solutions actually soak better into unplaned timber than planed timber.
- Apply the number of coats indicated. Usually, one or two are needed. But always use the entirety of the solution indicated for the treated wood area. You can use our usage calculator to help. This well help you apply the solution evenly over the wood surface.
- If you have some solution left over after the first coat, you should apply another coat to make sure that all of the solution penetrates into the timber. For instance, you might have some solution left over if you’re treating timber that is damp or not completely dry. Simply put, the higher the timber’s moisture content, the less impregnation solution it will be able to absorb.
- Wait until the wood has soaked in the first coat completely (about 4-24 hours) before applying the next coat or spray.
- Don’t forget to treat all crosscuts, recesses, claddings and other joints made in the timber after it has been impregnated, as these are the areas most susceptible to pests and fungi.